Tuesday, April 28, 2015

Is post processing with film necessary?

In forums it is a very commonly discussed subject. Should the digitized pictures of a film be manipulated with software or not?

In the past, when pictures were mostly printed on paper and not on screen, post process occurred at the enlarger step, covering areas with masks or with the hand, using filters, faders and so on, using different papers (soft, normal, hard, etc.), textures, toning, sepia, gold, sulfides, etc.

Today, digital paper (screens) replaced paper and paper prints are made with printers, inkjet or laser and not with enlargers, at least for the most people. Some still use enlargers, B&W or color and go on post processing physically and chemically.

I can't find a reason why we should not post process to achieve a result we would like to get. If we expose correctly the pictures at the camera and then we develop the film following rules that we know will give us the best result and then we scan and make no adjustments at scanning and the result after scanning is that we want, ok, we are lucky. But having in attention that not always this is the case, and in the same film we have well and not so well exposed pictures, some need backlight correction and other not, shadow details may be wanted or not and so on, more or less contrast, more or less light, color correction, grain reduction, sharpness level, dust removal, undesired color removal, etc., etc. and you may use a software or scanner utility to make adjustments, I think you should use them. And this without including other possibilities like transforming the look of the picture in order to get a particular artistic or nostalgic effect.

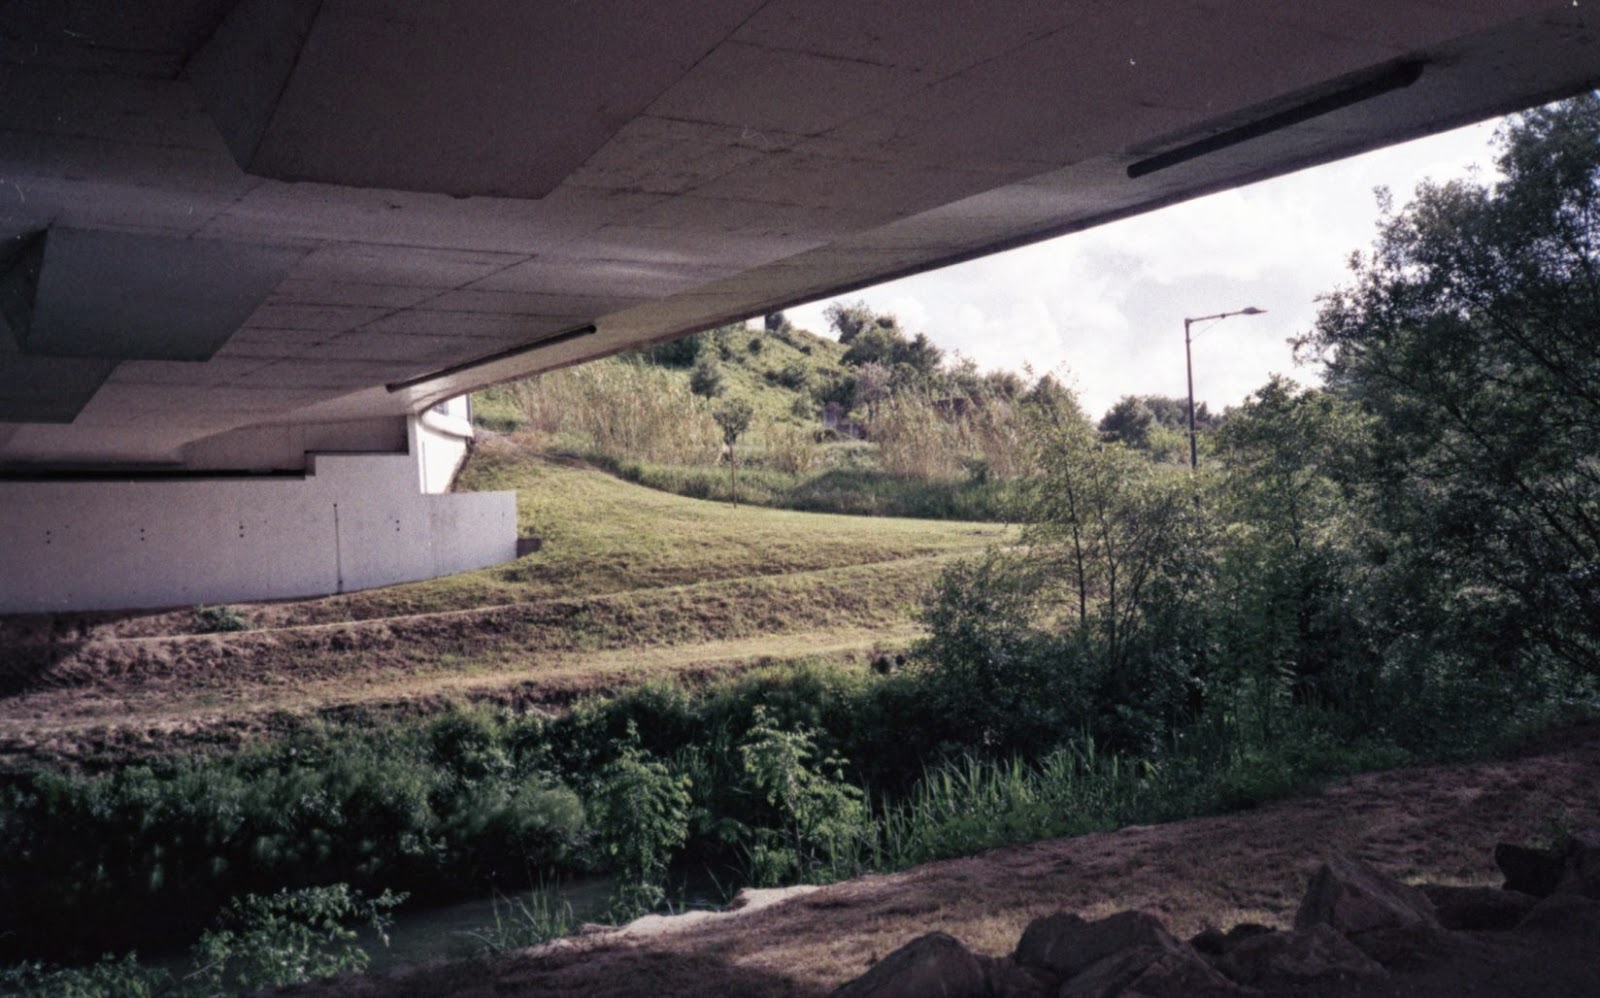
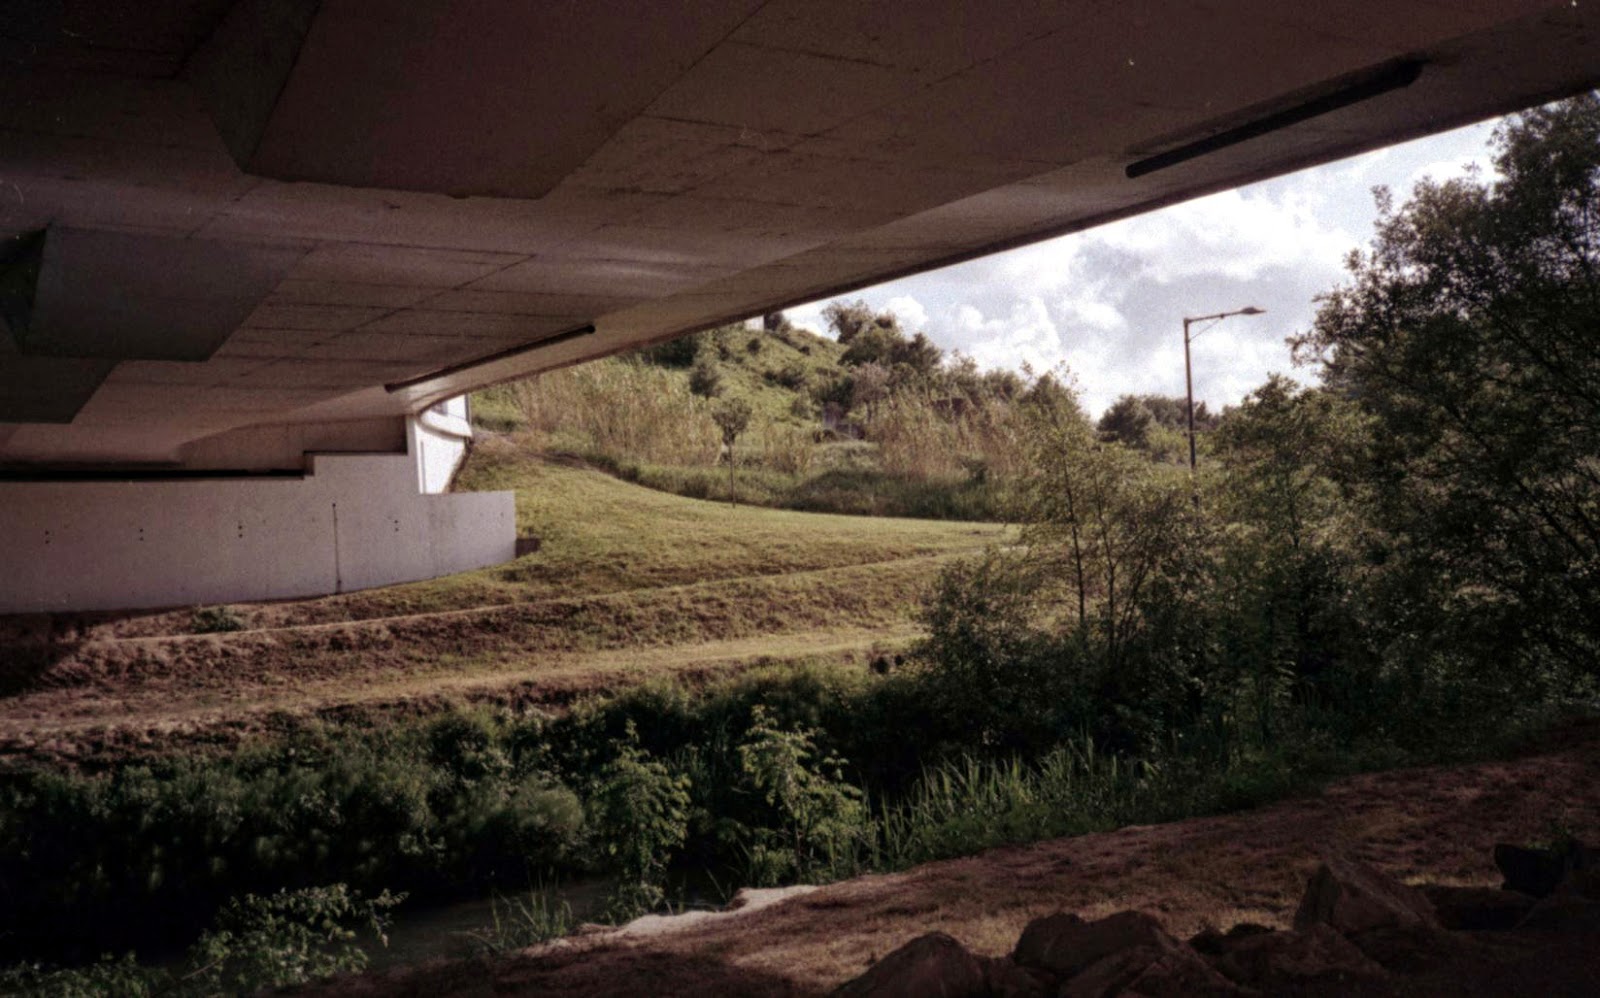
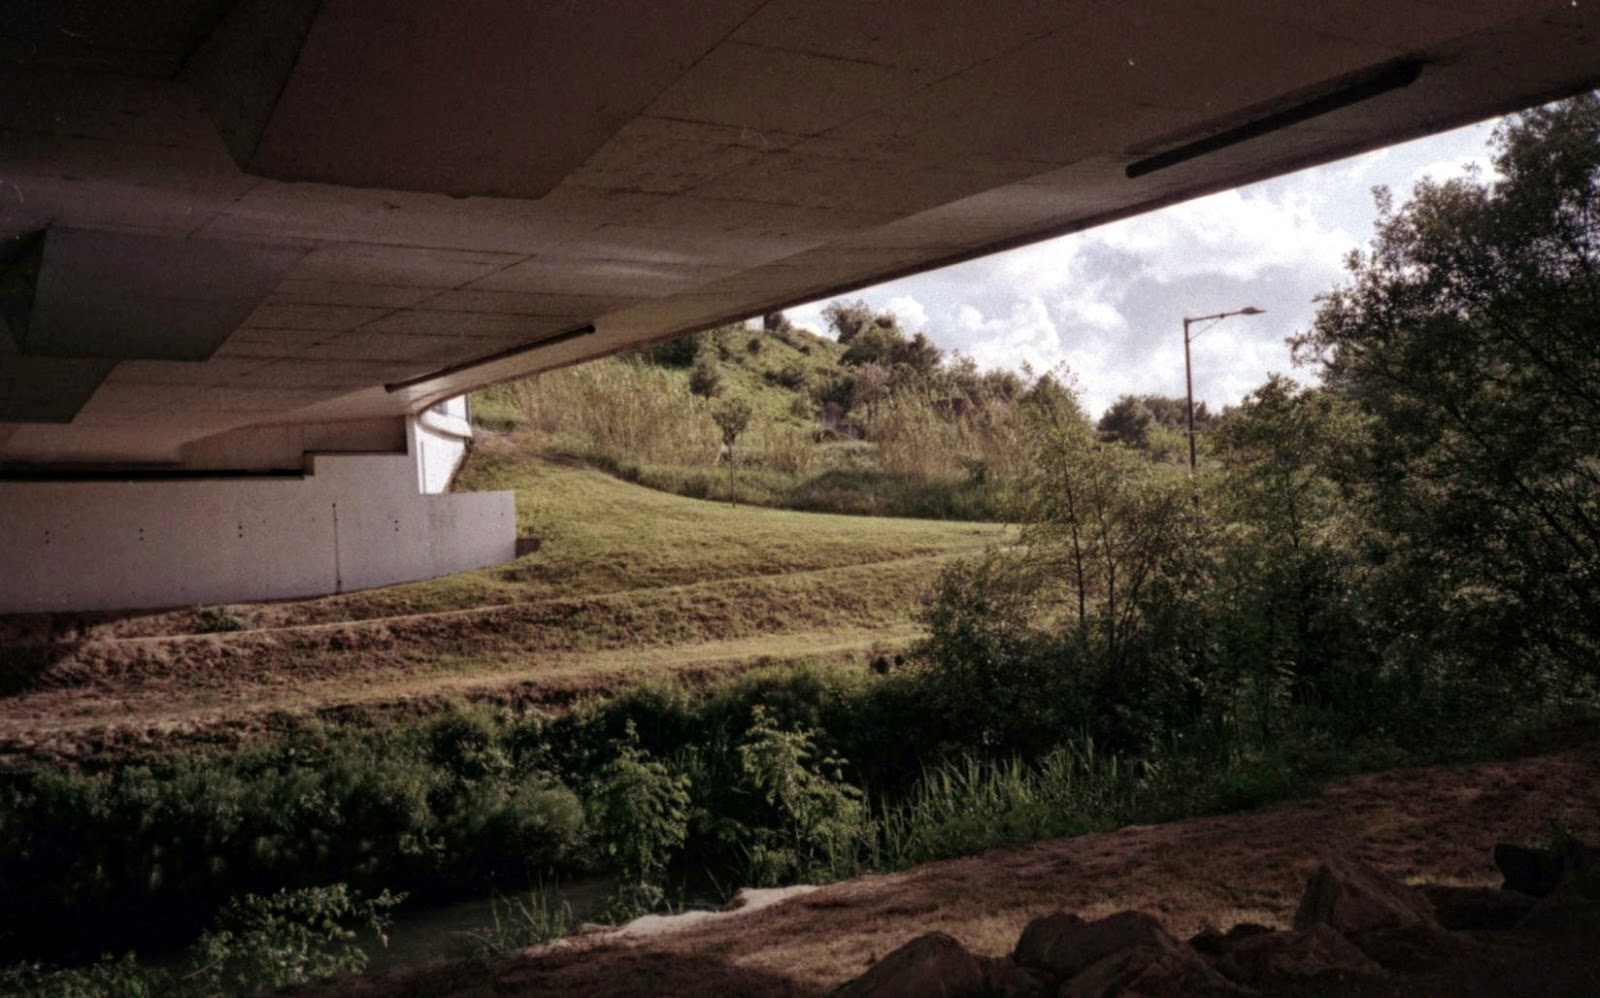
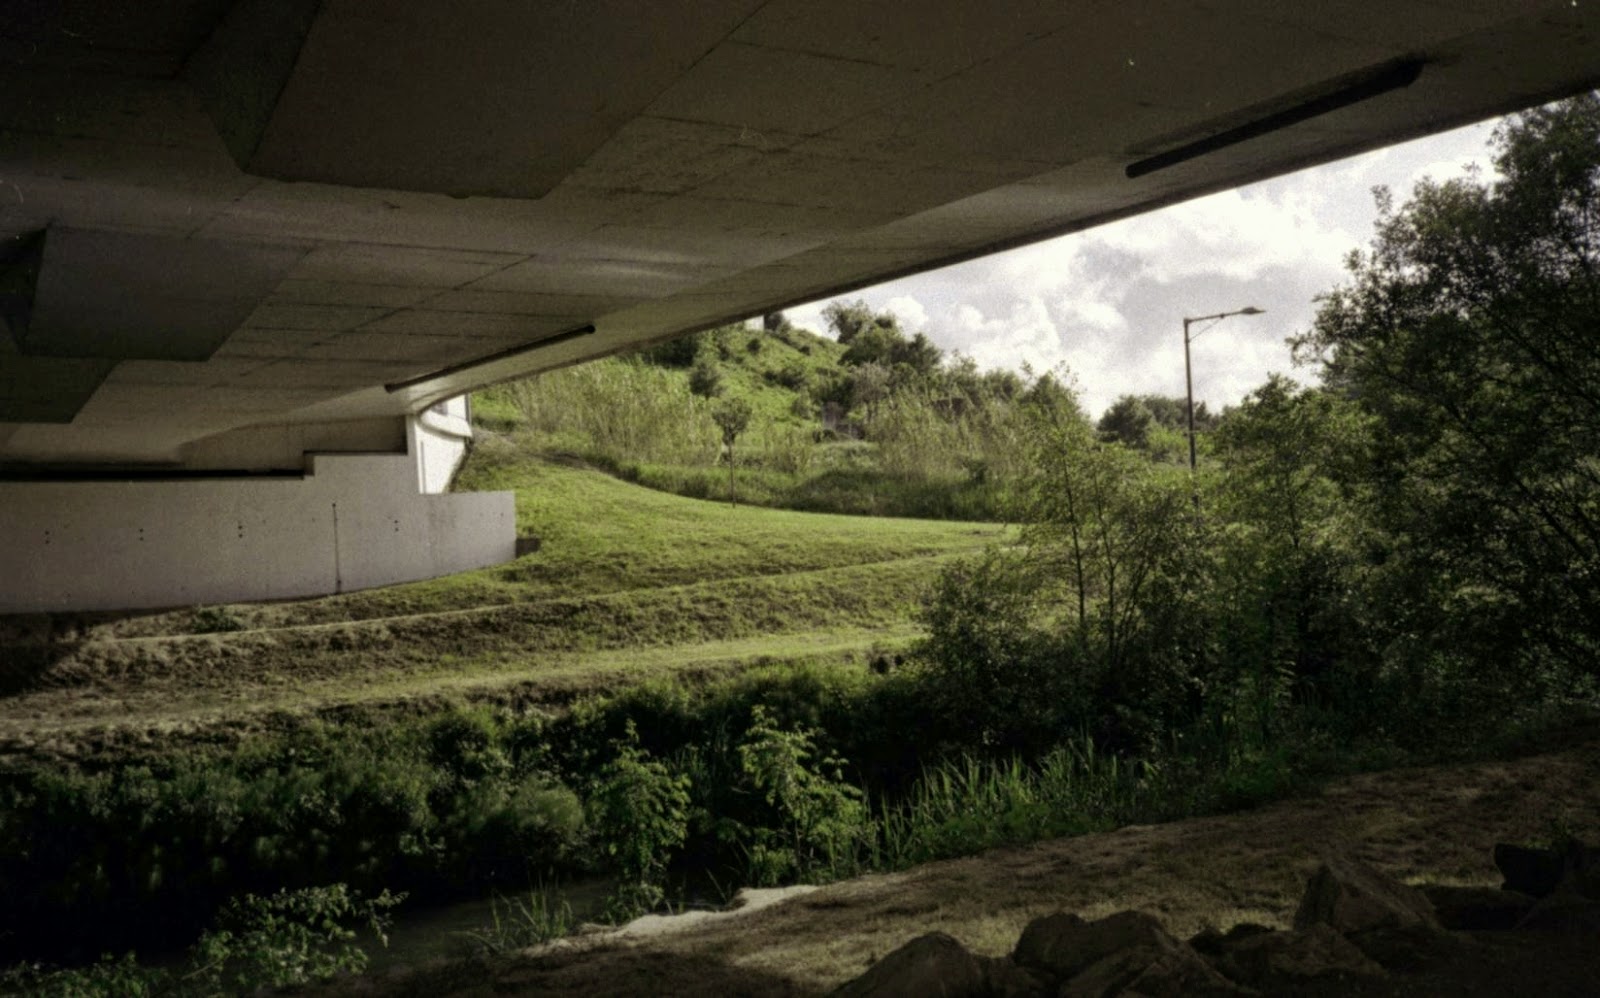
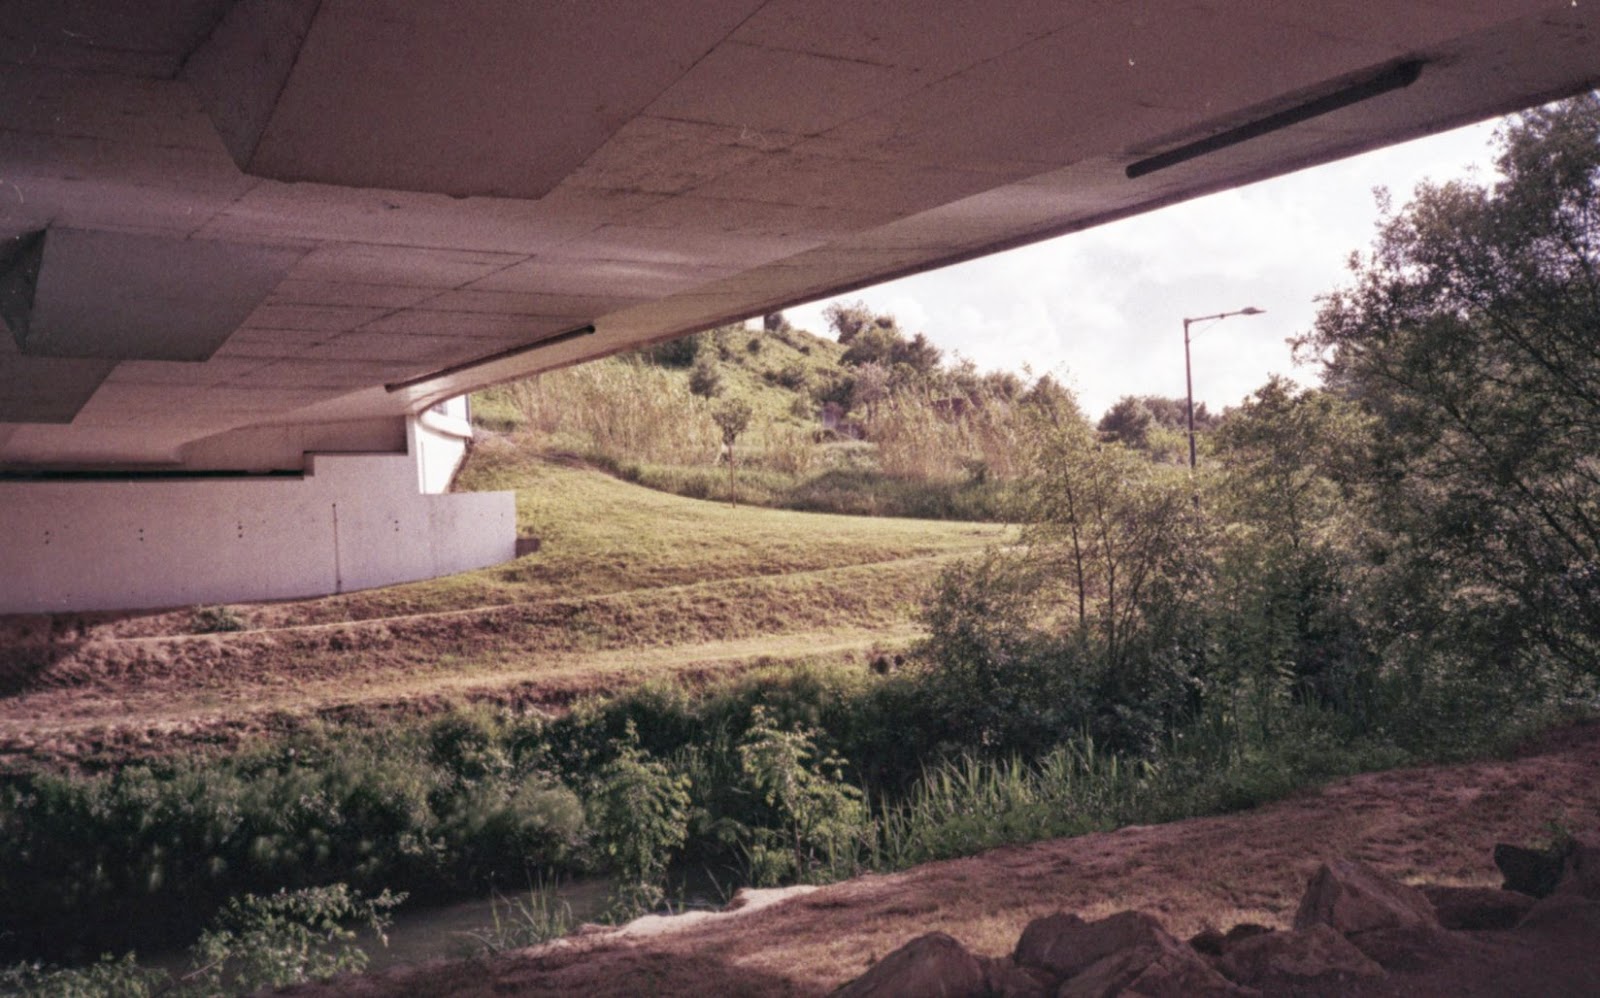
So, now I post some positivated versions of the same negative to illustrate my point of view:
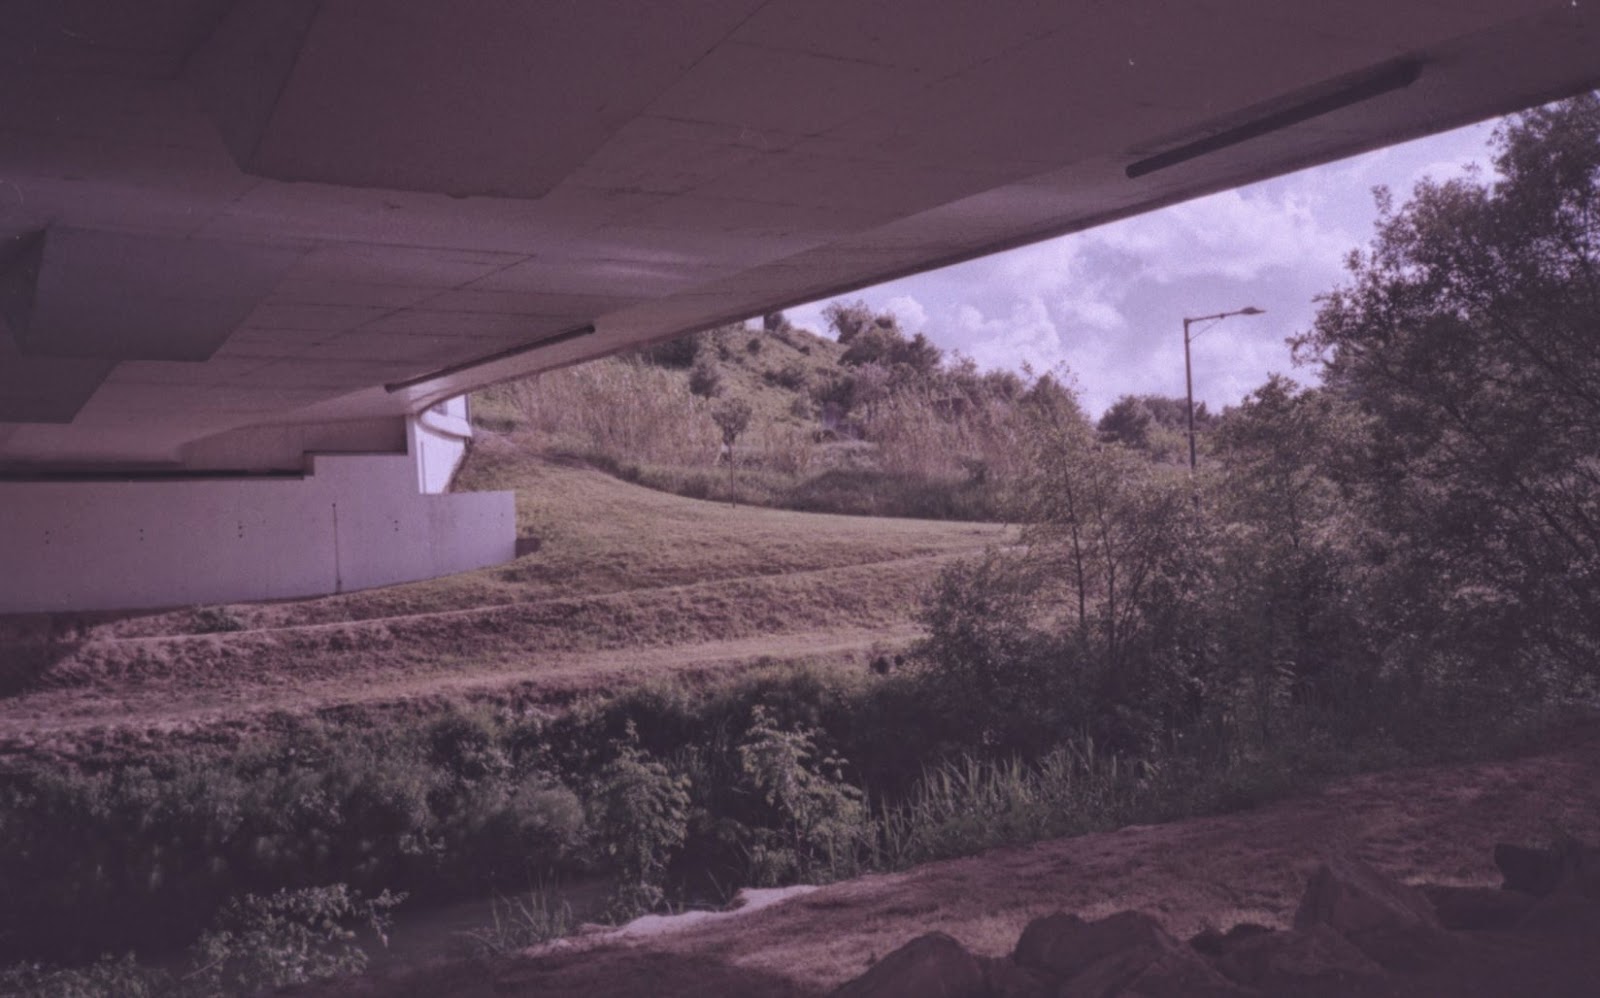

Scan 1, direct from scanner w/o any adjustments
Scan 2, direct from scanner with auto correction
Scan 3, direct from scanner with color restoration
Scan 1 + auto level in GIMP
Scan 1 + auto level in Photoscape
Scan 1 + auto level in Photoscape and undesired color removal (magenta)
So, take your conclusions about post processing. One may say «Yeahhh, if you had given the right times, the right chemicals, the right film and so on, you wouldn't need post processing». OK, I might have had the last result directly from scanner. But I had it anyway and with less stress and having some fun with software, in this case not very much, two steps only.

Note: auto-level in GIMP and in Photoscape gave me almost the same result, but I prefered the one of Photoscape, the blue of the sky a little darker and the green of the grass more vivid.

Sunday, April 26, 2015

Worldwide Pinhole Photographic Day

I am ill I couldn't go out for Pinhole today.

The site of the event is here http://pinholeday.org/

I choosed an old Pinhole photo to show today, took on film, maybe 1/2 second, open and close.


Thursday, April 23, 2015

Split C-41 developer at room temperature

Since a while I have been using Dignan's 2-bath C-41 developer. The color restitution depends more on the second bath, so I have been experimenting different solutions, and these are the results for a 5% solution of Potassium Carbonate anhydrous with 4g/liter of Sodium Chloride, table salt. The film I used was Fuji Superia 100, expired in 2002.

It is said that time is not a problem with this developer, but according to my tests better too long than too short. So I propose 15 minutes for the first bath of CD4 and 30 minutes for the second. All at room temperature.

Still I need to improve the graininess overexposing the film and bleaching/fixing well to remove all silver salts  and silver from the film.


Wednesday, April 15, 2015

Animation GIF

ATTENTION!

Sensitive epileptic people should CLOSE immediately this BLOG! This kind of animation may trigger an epileptic attack.


This kind of animation may be automatically produced with adequate software or via HTML programming. I used Stereo Photomaker 64, a freeware that may be found in internet. To make this, I used three versions of one photo, in one of them I cut a little at the borders to look closer. The image presents thus 3 pics in sequence, the original, the negative of the original and the original that was cut. The time duration of each pic is measured in miliseconds, 20 ms for original and closer image but just 1 ms for the negative one.

Wednesday, April 1, 2015

3 Great Free Software Programs to treat your photos.

I have been looking for free software to treat my photos. The first I discovered was GIMP, The GNU Image Manipulation Program. I am still using it and there are additional plugins that may be added to the program, it is very good indeed but not for beginners.

Then, because I found GIMP very difficult to learn well and heavy for my small PC memory, still working with Windows XP, I searched for a good free and fast program and I came then by chance to Photoscape that has the essential tools to enhance the quality of scanned film pictures.

One of my challenges is to transform a Black and White picture into color picture. This is possible with Photoscape with the tool Paint Brush holding the shift key down. But if you go a second time with the tool over an already zone the color changes to more dark and this may cause you waste of time to correct an accidental double brushing.

By chance I discovered this tool on line that only do that, colorize pictures. Very easy to use and efficient. It is called Colorize Photo and works online.

Bellow is a B&W picture I took with my RTB (round tin box) a pinhole camera I made recently. I used Ilford MG IV, f/200, some 10 seconds exposure. Developer was a home made Parodinal in dilution 1:5. And bellow it is a colorized picture I made with GIMP, using the tool Renderize-Fog with several colors and opacity. You don't control how the spots will be spread over the picture but choosing the right colors and their opacity, it is possible to get a more or less colorized artistic effect.

Brightness and contrast adjusstments in Photoscape

Above picture colorized with GIMP

Let us take now another B&W picture and see what one may have using both the online Colorize Photo and GIMP to spread some random spots to mask possible imperfections of my ability in using hand driven mouse to colorize the picture. The photo was taken with an Olympus Trip 35, a wonderful small 35 mm camera and using long expired film Kodak TMax 400 in a cloudy Spring day and developed with a coffee-Vit C-phenidone made after a Flickr friend, Jay De Fehr's, finding that phenidone is super additive with coffee and not only with Vit C, this is used in Kodak's XTol developer for quite a long time.

Olympus Trip 35 - TMax 400 - Caphenol
Using "Colorized Photo" and GIMP